 info@sstuvled.com


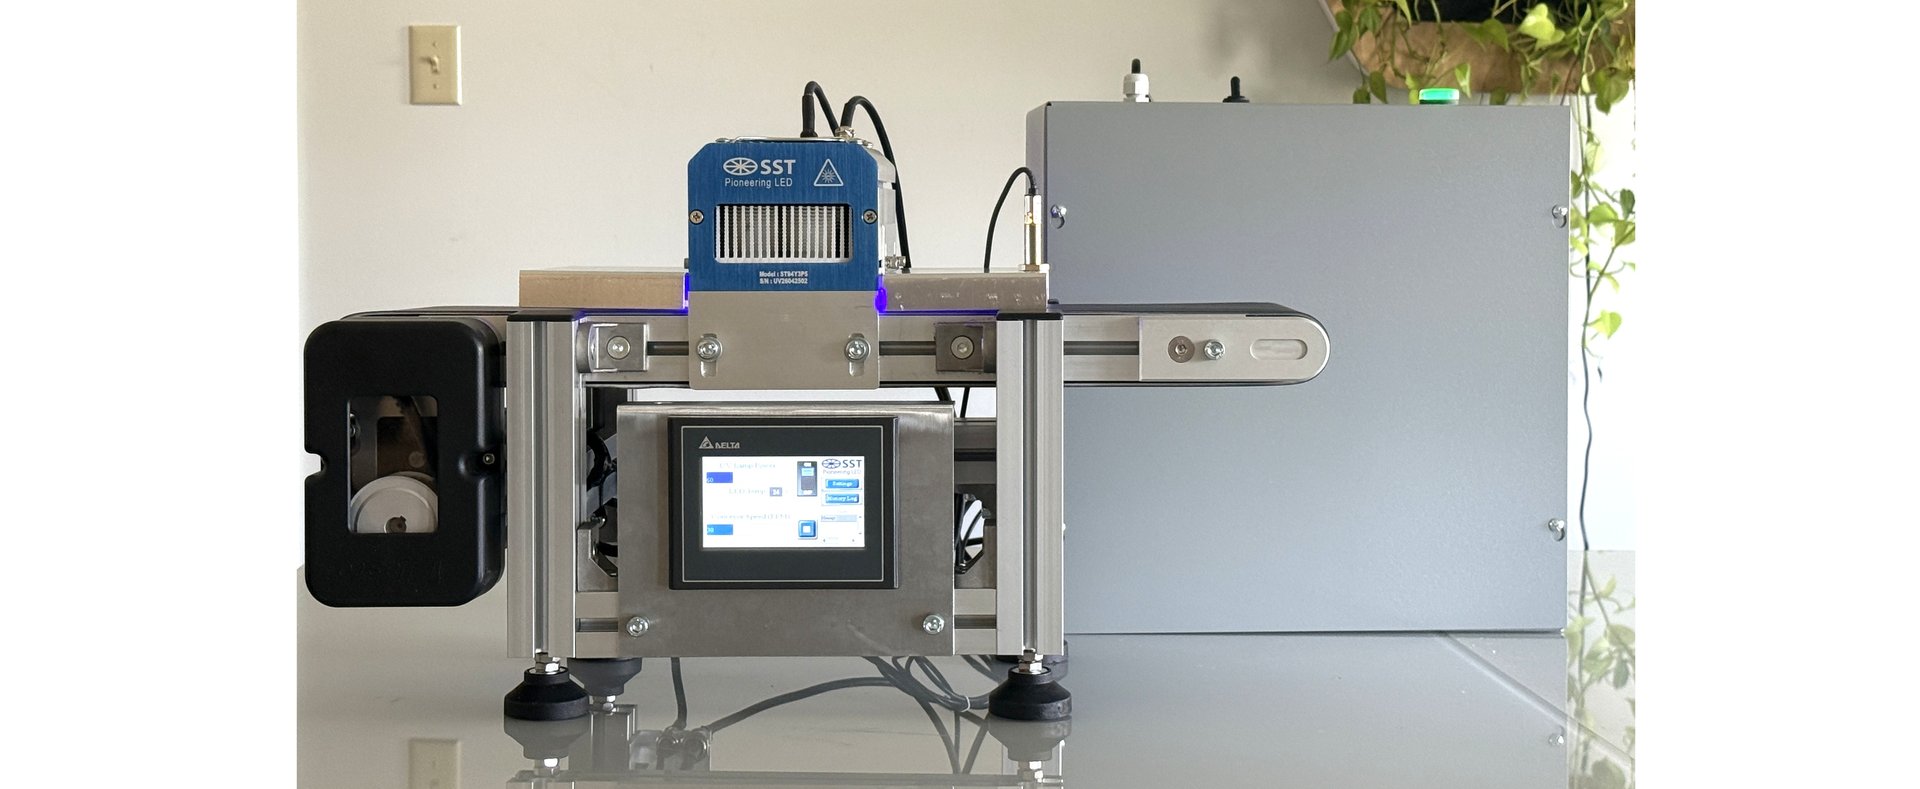
Tabletop Unit
TABLETOP LED CURING FOR PRINTERS & INK MANUFACTURERS:
Unmatched Functionality in a Feature Rich Tabletop Curing Unit
- Adjustable Power Levels
- Lowest Electrical Supply Requirement
- Adjustable Speed up to 105 fpm
- Most Compact Design
- Lowest Operating Cost
- Very Low Heat Generation
- Eliminate voc’s and exhaust
- Available in 385, 395 or 405 nm wavelength
Overview
The UVST80-A Air-cooled LED tabletop curing unit (380-400nm) is fabricated by mounting SST’s patented AS-LED modules directly onto a single extruded aluminum heat sink. The patented AS-LED modules utilize half-rod quartz lenses to minimize Total Internal Reflection (TIR) loss. The included Touch Screen Panel controls both the conveyor and the curing lamp.
Components
- Electrical Control Box with AC cord
- 400W 3.5″ LED Lamp
- 3 1/2″ wide curing window
- 6″ Wide Conveyor with speed range 14-115 fpm
- Touch Screen Panel
- Large 6 pin Conveyor Cable
- Large 5 pin Touch Screen Panel Cable
- Large 4 pin DC power Cable
- Small 4 pin Temperature Sensor/Fan Cable
- Mounting Accessories
Electrical Requirement
- Single phase: ~ 120 Volt, 3.9 Amps
Weight and Dimensions
- LED Lamp (5 lbs): 304 L x 102 W x 89 H (mm)
- Control box (19 lbs): 305 L x 102 W x 305 H (mm)
- Conveyor (29 lbs): 610 L x 242 W x 242 H (mm)
- Touch Panel (5 lbs): 267 L x 204 W x 77 H (mm)
Technical Data
- Environment: Indoor Use Only
- Operating Temp: -5 to 30°C
- Emitting Window: 89 x 75 mm
- Input Power: 460W
- Dimming: 10-100%
Installation Instructions
- 1.Connect the Large 4 pin DC Cable from the control box to the power socket on the LED lamp.
- 2.Connect the Small 4 pin Temperature Sensor Cable from the control box to the sensor socket on the lamp.
- 3.Connect the Large 5 pin Cable from the control box to the Touch Screen Panel.
- 4.Connect the Large 6 pin Cable from the control box to the conveyor.
- 5.After securing the LED lamp, plug in the control box.
- 6.Use the on/off toggle to turn on the touch screen panel and enable the LED lamp and the conveyor.
- 7.Use the Touch Screen Panel to control LED lamp and the conveyor.
- 8.The recommended distance the lamp is mounted above the substrate is 6-12mm.
SST TECHNOLOGIES
FEATURED CASE STUDIES
 JOIN OUR EMAIL LIST
We are committed to keeping your email address confidential. We do not sell, rent, or lease our contact data or lists to third parties, and we will not provide your personal information to any third party individual, government agency, or company at any time unless compelled to do so by law.


